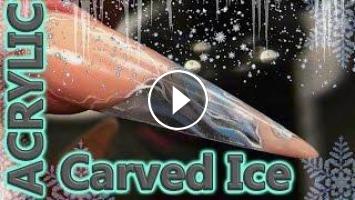
This is the second in a series of video in which Kirsty create a full look on her client, The theme of these nails is the Ice Queen / Snow Queen. Kirsty is taking inspiration from the natural world and recreating the look of ice across the full look.
In this video she creates a carved ice effect. Firstly kirsty preps the nail using a white block, nail prep dehydrator and two coats of primer, before applying the stiletto shape nail form
Kirsty then uses highspeed acrylic liquid and warm beige acrylic powder to build the cuticle area and apex, she also sweep this down onto the form in a wave effect and also adds some to the tip.
She then adds a thin layer of clear acrylic in the gaps and as it sets, using a cuticle pusher she carves wavy lines into the clear acrylic. once the clear is set Kirsty uses a mix of Clear Acrylic POwder, Metallic Blue Acrylic Powder and Lightening Blue Neon Acrylic Powder. to fill in the carved out parts.
Kirsty the encapsulates the nail with Clear POwder ensuring that it is a wet bead to avoid air bubbles. One it is set,m she files and buffer, before painting on white squiggley lines and top coating in Mega Gloss Sealer Gel.
===================================================
LAST VIDEO UPLOADED - http://bit.ly/2fNwvCa
===================================================


Comments